Build a Badge Workshop @Keycity Steampunk
Key City Steampunk Friday, August 13, 2021 | 4 to 5 pm Going to Key City Steampunk and want to


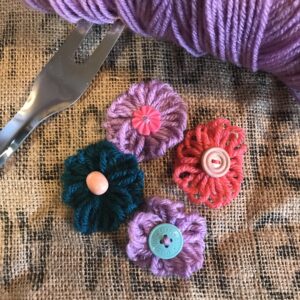
Sorry it has been such a long, long time that I have come up with any new tutorials. Lets just say life and family things got busy…but it is a new year and I want to start it off good. What better way to start off then with an easy felt flower tutorial? I love felt and flowers so here we go.
Supplies:
Hot glue gun
1/8 of a yard felt
Scissors
Printer
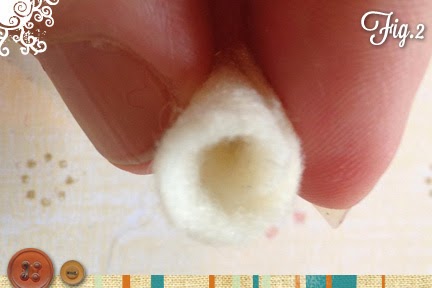
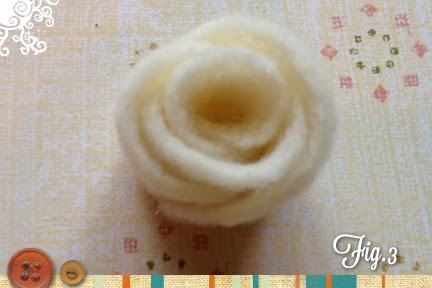
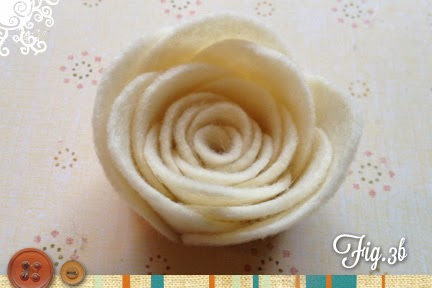
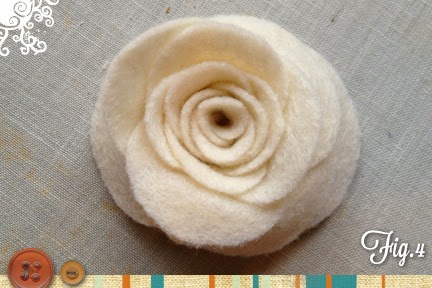
Continue gluing petals around the center going from smallest to largest petals on the outside.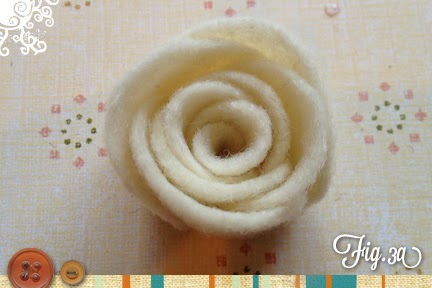
To Assemble a cluster brooch
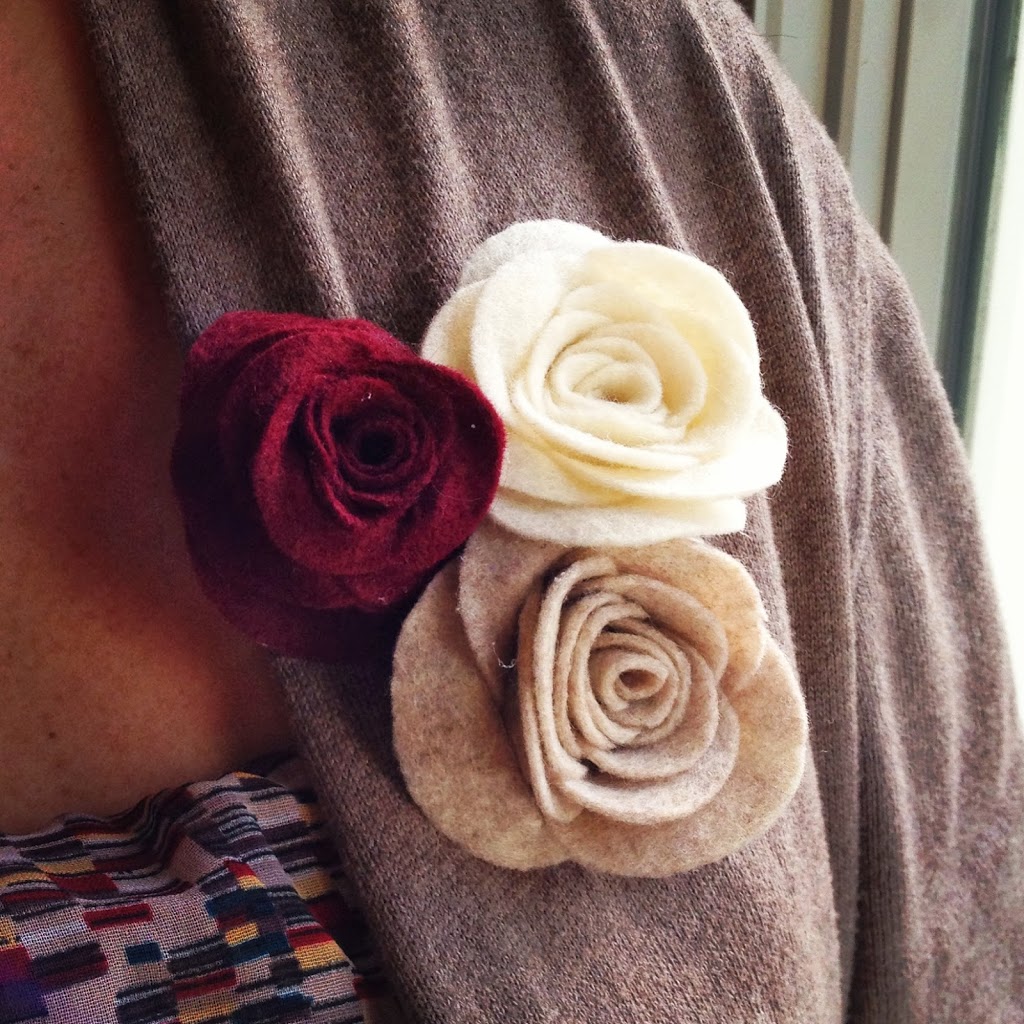
If you would like to make the three flower cluster brooch seen above you will need a few more supplies:
I made two flowers using the exact directions above and one smaller flower. For the smaller flower instead of cutting 4-petals in each size only cut and use 3-petals. I mounted the flowers on a felt triangle that I cut to fit behind the flowers and I glued the pin to the back using hot glue.
Key City Steampunk Friday, August 13, 2021 | 4 to 5 pm Going to Key City Steampunk and want to
Do it yourself Badge Kits now available. Get a kit with the supplies to make 2 badges delievered to your
Since I have been spending a lot more time in my house I have decided to try to reinvent some
So, I am getting back on the wagon and starting tutorials again. The workshops I have done at cons and
