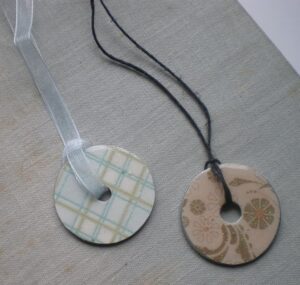
Every time I buy furniture that requires assembly I always left over hardware. I take this hardware and put it in a jar thinking that one day I will need that extra nut or bolt. Well today is that day! Below is a tutorial on how to take those extra washers and make them into a cute necklace.
Supplies:
Scissors
X-acto knife or hole punch
Pencil
Small piece of scrapbooking paper (you can use the left over scraps for this project)
Modge Podge (or something similar)
Washer
Aleene’s Paper Glaze
36” of ribbon or cord
- Use the washer to trace a circle on the paper, don’t forget to trace the inside circle as well.
- Using your scissors cut just inside of the traced line on the outer circle. Note: you want to cut inside of the line and not on it so it fits on the washer and does not overlap the edges. If the hole for your center is close to the same size of a hole punch, simply punch out the center circle. If not use the X-acto knife to cut out the center area.
- Modge Podge the paper to the washer and set aside to dry. Note: I put mine under a heavy book so the edges didn’t curl up.
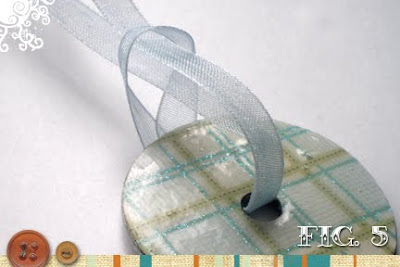
- After the glue is dry, using Aleene’s Paper Glaze, start along the edge and work your way around and inward until the paper is coated. Let it sit overnight to dry in an area where there isn’t a lot of dust or pet hair.
Note: Be careful not to shake or move the glaze too much because it will form bubbles. If bubbles form you can take a pin and carefully pop them. Your paper will appear cloudy at first, however as the glaze dries it will become clear.
- After the glaze is completely dry, cut a 36” piece of ribbon or cord to use as the necklace. Loop the ribbon/cord through the center of the washer. You can trim the ribbon/cord according to the length of the necklace you want. Remember to allow ribbon/cord so the necklace can be tied in the back.
2 thoughts on “Washer Necklace Tutorial”
Such a sweet thing to make! I love it…
Lovely little thing to wear. Thank you for sharing. 🙂
Beauty write for us
Comments are closed.