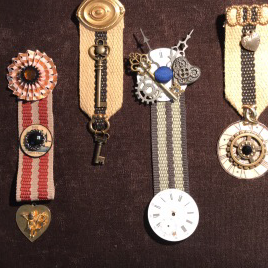
Build a Badge Workshop @Keycity Steampunk
Key City Steampunk Friday, August 13, 2021 | 4 to 5 pm Going to Key City Steampunk and want to


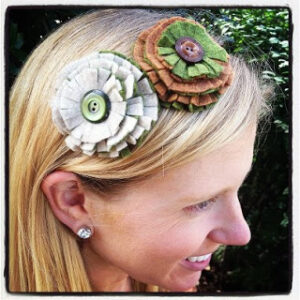
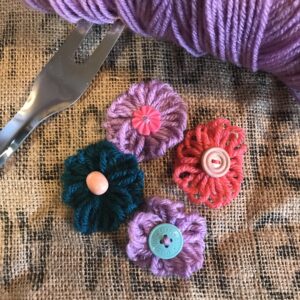
Fall and felt just go hand in hand. So what better fall craft to make than out of felt? This cute headband is easy to make and would be great for those back to school outfits.
Supplies
Felt (I used 2 colors)
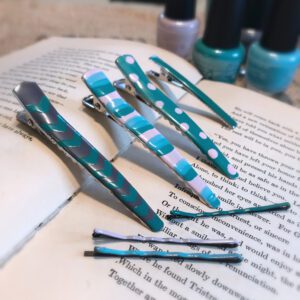
Headband (optional, I put mine on a headband but you can easily make this into a pin or clips)
Scissors
Computer and printer or compass
Button
Hot glue gun


Key City Steampunk Friday, August 13, 2021 | 4 to 5 pm Going to Key City Steampunk and want to
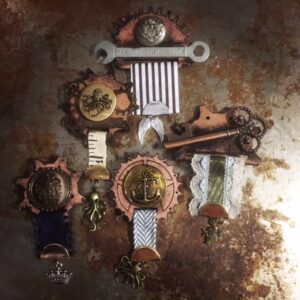
Do it yourself Badge Kits now available. Get a kit with the supplies to make 2 badges delievered to your
Since I have been spending a lot more time in my house I have decided to try to reinvent some
So, I am getting back on the wagon and starting tutorials again. The workshops I have done at cons and
