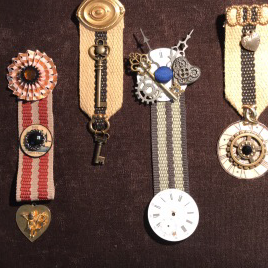
Build a Badge Workshop @Keycity Steampunk
Key City Steampunk Friday, August 13, 2021 | 4 to 5 pm Going to Key City Steampunk and want to


If you can’t tell by my posts from the past 30 days or so, I am trying to use a stash of felt that I found in my fabric box. At some point I bought quarter yards of a bunch of different felt and never really used it. Well it is the new year and one of the things that I do (and everyone else tends to do too) is try to organize my life—yeah like that is possible. Even though I do it every year and it only last a month or two I still find myself trying to be organized come Jan. 1.
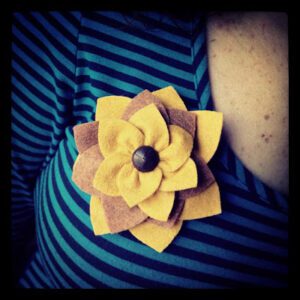
Oh well, I have gone off on a tangent. Back to the tutorial, basically I have been trying to figure out what I can make with this stash of small pieces of felt so you might be getting a few more felt flower projects until I use it all! I hope you enjoy the sunflower.
Supplies
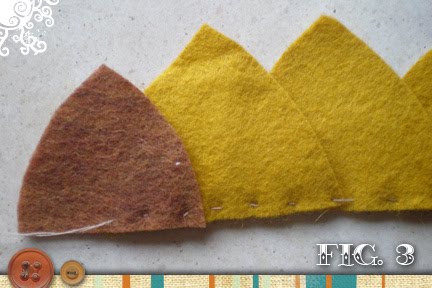
1/4 Yard felt*
Button (preferrably a shank style)
Hot glue gun
Scissors
Needle & Thread (I would use a heavier duty thread since it the flower needs gathering)
Pin back
*I used two different colors and honestly from a quarter of a yard you will probably be able to make several flowers. If the felt is 45″ long you can probably even get away with an 1/8th of a yard.


Key City Steampunk Friday, August 13, 2021 | 4 to 5 pm Going to Key City Steampunk and want to

Do it yourself Badge Kits now available. Get a kit with the supplies to make 2 badges delievered to your
Since I have been spending a lot more time in my house I have decided to try to reinvent some
So, I am getting back on the wagon and starting tutorials again. The workshops I have done at cons and
